Hey there, friends! 🌟 Have you ever come across a recipe on Instagram and thought, “I absolutely need to try that”? Well, that’s exactly what happened when I saw the viral Instagram cheesecake. As soon as I laid eyes on it, I couldn’t resist and had to give it a try. Let me tell you, it was a total hit! It’s creamy, dreamy, and most importantly, super easy to make.
Since making it for the first time, I’ve whipped up this cheesecake several times (yes, it’s that good!). Today, I’m sharing the full recipe with you so you can make this viral Instagram cheesecake yourself and impress your friends, family, or just treat yourself to something sweet. Trust me, it’s worth every bite!
Why Is This Viral Instagram Cheesecake So Special?
If you’ve been scrolling through Instagram lately, you’ve probably seen this viral cheesecake popping up all over. The best part? It’s simple to make and doesn’t require any baking. No fancy equipment, no complicated techniques—just a few easy steps, and you’ll have a cheesecake that’s just as delicious as it looks!
Ingredients You’ll Need for This Instagram Cheesecake
- 1 pack of Marie biscuits (or any plain biscuits)
- 3 tbsp melted butter (helps bind the biscuit base)
- 2 cups full-fat milk (the base for your creamy filling)
- 1 tbsp lemon juice (this curdles the milk and gives the filling that smooth texture)
- 3 tbsp sugar (adds sweetness to the filling)
- 1 tsp vanilla essence (for that extra bit of flavor)
Step-by-Step Instructions: How to Make the Viral Instagram Cheesecake
Now, let’s dive into the recipe! Here’s how I made it:
Step 1: Crushing the Marie Biscuits for the Base
Start by crushing the Marie biscuits into fine crumbs. I use a ziplock bag and a rolling pin to crush them, but if you have a food processor, feel free to use that. The finer the crumbs, the better the texture. Once crushed, transfer the crumbs into a bowl.
Step 2: Prepare the Biscuit Base
Melt the butter and mix it with the crushed biscuits. Stir until everything is combined and it resembles wet sand. This will form the solid base. Now, instead of using a springform tin, I’ve been using a glass bowl or a microwavable bowl. Both work perfectly and give it a beautiful rounded shape. Press the biscuit mixture into the base of your bowl and chill it in the fridge while we work on the filling.
Step 3: Curdling the Milk
Here’s the cool part! In a saucepan, heat the full-fat milk until it just starts to simmer. Then, add lemon juice and stir gently. The milk will start curdling, separating into curds and whey. This step is essential for getting that creamy texture in the filling without needing any cream cheese. Let the milk cool down for about 15-20 minutes.
Step 4: Sweeten and Flavor the Filling
Once your curdled milk has cooled, add the sugar and vanilla essence. Stir until everything is well combined and the sugar dissolves. If you want an extra smooth consistency, feel free to blend the mixture for a few seconds. Now your cheesecake filling is ready!
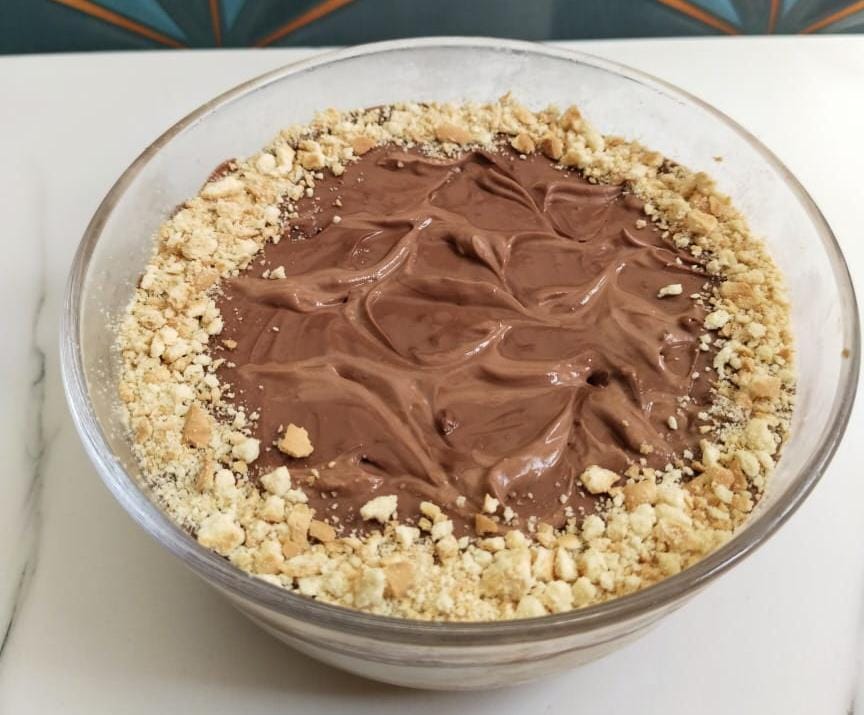
Step 5: Assembling the Cheesecake
Take the biscuit base out of the fridge and pour the creamy filling on top. Smooth it out evenly using a spatula. You want a nice, even layer. Now, place the entire bowl back in the fridge for at least 4-6 hours (overnight works best). This will allow the cheesecake to set and become firm.
How to Serve Your Instagram Cheesecake
Once your cheesecake is fully set, carefully remove it from the fridge. If you used a glass bowl, you can simply serve directly from the bowl or carefully invert it onto a plate. Slice it up and enjoy! Top it with fresh fruits like strawberries or blueberries for a burst of color. Or, drizzle a little chocolate sauce over it for extra indulgence. Either way, this cheesecake is bound to wow anyone who tries it!
Why I Keep Making This Cheesecake Over and Over
Since first making this viral Instagram cheesecake, I’ve made it several times. It’s so easy, and the flavor is incredible. The combination of the crunchy biscuit base and the creamy, slightly tangy filling is absolutely perfect. And best of all, it’s a no-bake recipe—so you don’t even need to turn on the oven!
This recipe is so versatile too. You can add in your favorite toppings, or even mix in melted chocolate or coffee into the filling for a fun twist!
A Little Thought to Wrap Things Up
Food is more than just something we eat—it’s about the love and care we put into making it. This cheesecake is a perfect example of how simple ingredients can come together to create something truly special. Whether you’re baking for a special occasion, a family gathering, or just a quiet evening at home, this cheesecake is sure to impress.
So go ahead, give this recipe a try, and let me know how it turns out for you! You can also check out my original Instagram post for this cheesecake on Instagram here and watch me make it on my YouTube channel here. I’d love to see your creations, so feel free to tag me!
If you’re interested in more easy and delicious recipes, don’t forget to check out my earlier post here.
Enjoy making this viral Instagram cheesecake and remember, it’s all about balance—sweetness, creativity, and a little love. ❤️🍰
Until next time, keep exploring, laughing, and living life to the fullest!
Stay tuned for more adventures here on HeyItsNamra!
This blog is such a delightful guide to the viral Instagram cheesecake recipe! The step-by-step instructions are clear and easy to follow, which makes it perfect for beginners or anyone looking to try something new in the kitchen. I love how you’ve broken down each stage, from preparing the biscuit base to curdling the milk for that creamy filling—so simple yet so delicious. I can already imagine how great it’ll taste with a fresh berry topping or even a drizzle of chocolate. Can’t wait to give it a try! Thanks for sharing this awesome recipe!